Q: What is the construction process of the floor grinder?
A. Preparation before floor construction
C. "Rough grinding" of bare ground
D. Spraying concrete curing agent
E. Curing the ground for fine grinding
F. Spray concrete curing agent again
H. Repair local holes in the floor
A. Preparation before floor construction
Before the construction of the project, the ground needs to be prepared in advance by purchasing a floor grinder and related auxiliary equipment; in order to ensure the construction effect, it is recommended to use a protective film to cover the outer wall and non-moving objects before the construction of the project.
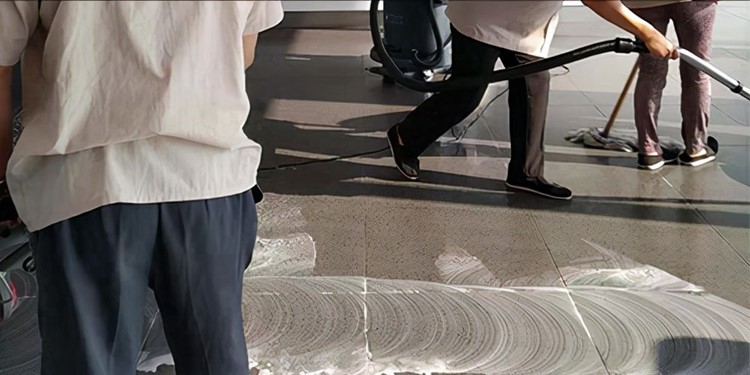
Before cleaning the ground, check the hardness of the ground and choose a suitable grinding pad.
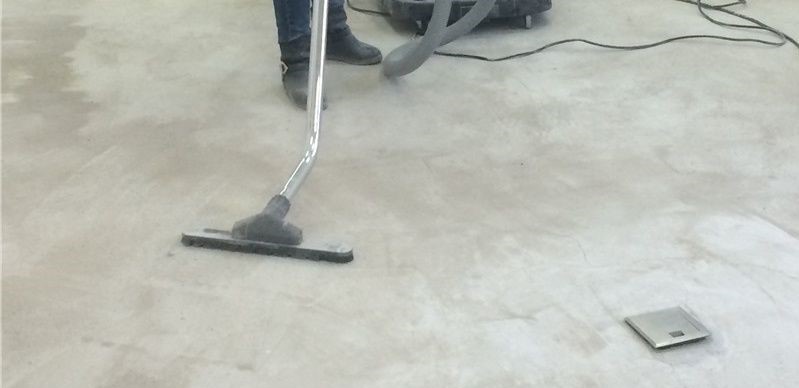
After the metal iron grinding disc is finished grinding, use professional cleaning equipment to clean the ground. If the hardness is good, continue to grind with resin sheet 50#. If the ground hardness is not enough, you need to use a curing agent to increase the strength of the ground.
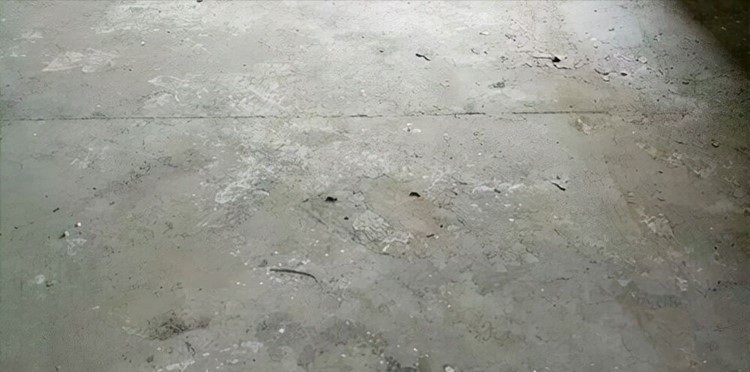
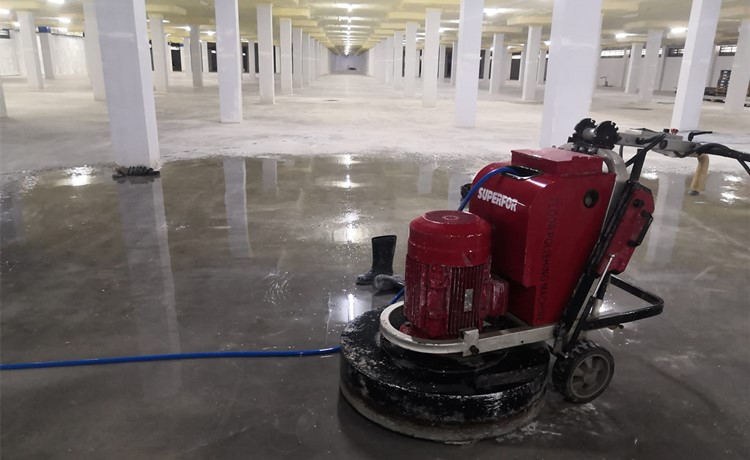
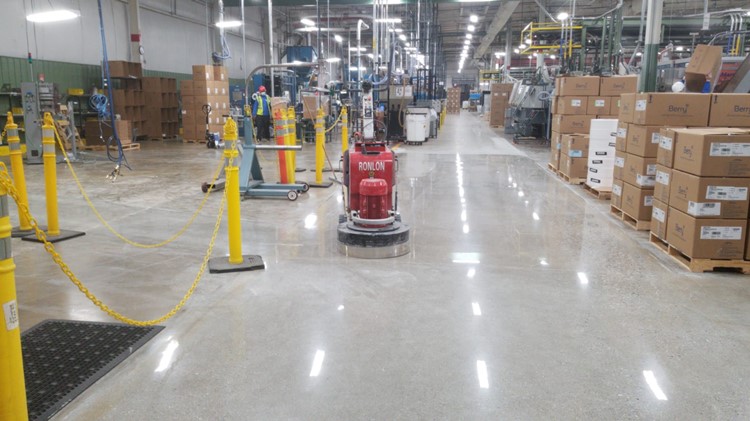
C. "Rough grinding" of bare ground
According to the different hardness of the floor, choose a suitable grinding disc (generally choose 30# or 80# metal grinding disc), and then add an appropriate amount of water to moisten it with a floor grinder to install the grinding disc to grind.
Rough ground:
Notice:
1 The ground texture needs to be inspected, necessary and required to be verified.
2 If there are steel nails or bolts on the exposed surface, they should be cut before grinding;
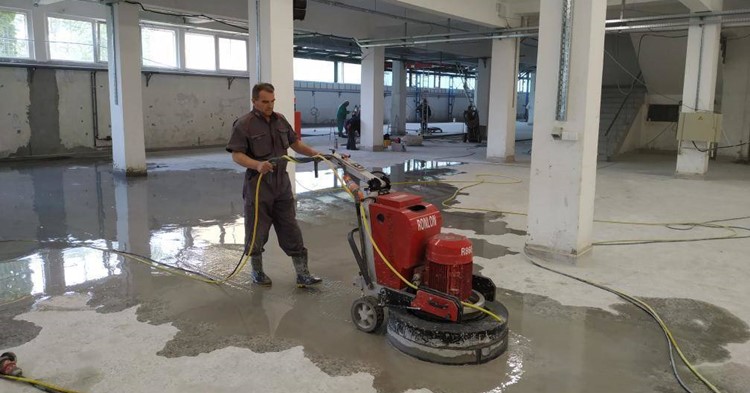
D. Spraying concrete curing agent (adding curing agent material for the first time)
The first layer of "solid material"
After polishing, dilute the concrete curing agent with water in a ratio of 1:4 or 1:5. (The proportion is based on the actual ground)) The diluted curing agent is sprayed on the ground directly and evenly. Keep the ground moist for more than 2-3 hours, and it can be pushed back and forth with a long-bristled brush to help absorption.
The second layer of "solid material"
When the curing agent applied on the floor becomes slippery and thick, you need to moisten the ground with an appropriate amount of water, and then push it back and forth with the brush again, causing the ground to penetrate the excess curing agent a second time.
Notice:
a: The curing agent should be sprayed evenly in the first pass, taking the wetness on the surface as the standard.
b: Push back and forth evenly with dust, and gradually stack to ensure that the ground is wet and fully absorbed for 2-3 hours.
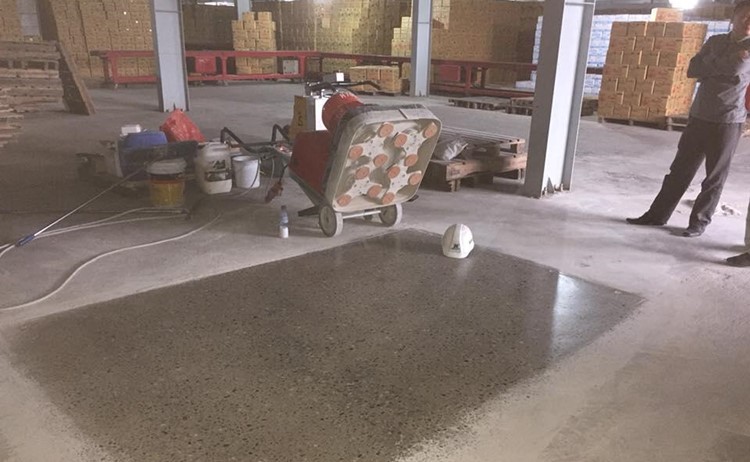
E. Curing the ground for fine grinding
After the concrete curing agent has penetrated for 2-3 hours, check the hardness of the ground. If the hardness is good, use a resin grinding pad to grind finely to keep the ground clean. If the hardness is not enough, then continue to grind with a metal iron grinding plate (note that you cannot grind with a resin plate at this time), and then solidify again.
Effect picture of adding curing agent for the first time
Such as note: The ground must be clean and dry.
F. Spray concrete curing agent again (add curing agent material for the second time)
The steps are the same as the four
Add hardener material for the second time
Notice:
a: The curing agent should be sprayed evenly when adding the curing agent for the second time, taking the wetness on the surface as the standard.
b: Push back and forth evenly with dust, and gradually stack to ensure that the ground is wet and fully absorbed for 2 hours.
After the secondary concrete curing agent has penetrated for 2 hours, it is cross-polished with a resin sheet. Put a small amount of water to moisturize, as long as there is no dust on the ground. Use a resin polishing pad to carry water horizontally and vertically to cross and reverse finely (the number of revolutions of the machine can be adjusted to the highest) to clean the ground and make the ground more delicate.
Notice:
a: When cleaning the entire construction floor, a protective film is needed, and the soiled finished product should be cleaned to ensure that the site is absolutely clean before polishing.
b: Always keep the machine clean.

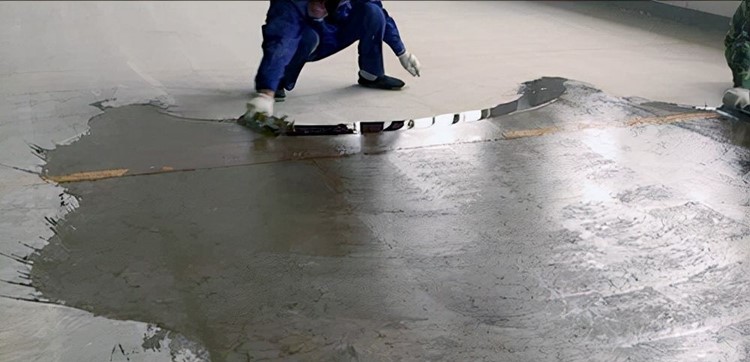
H. Repair local holes in the floor
After the resin sheet is finely ground, check whether there are holes in the ground. Repair local holes in the ground. Use repair mortar to repair the holes. After the ground is dry, use an angle grinder to smoothly grind and polish (remember to clean the ground).
Apply brightener. Use a professional grinding machine with 500#-1000#-2000# resin polishing pads to polish horizontally and vertically respectively;
Notice:
a: The machine adds counterweight iron and the speed of the grinder is adjusted to the highest.
b: The ground can be thrown dry or wet.
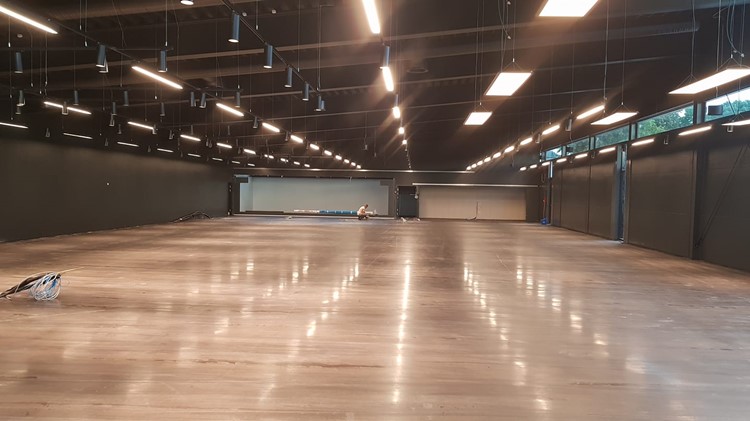
J. Acceptance, the ground can be put into use after the ground cleaning is completed
2000# resin polishing pad is polished, use 1#--3# polishing pad to polish the whole floor to ensure the cleanliness of the floor and project acceptance.
![]()


